January 2015

Sanding Tips

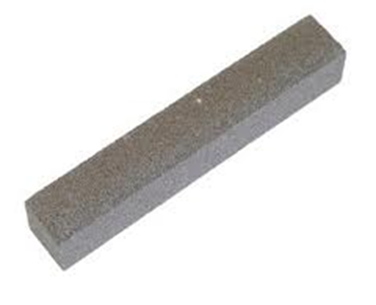
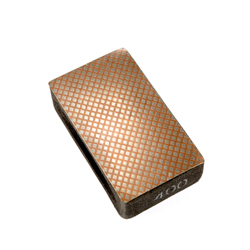
You must use silicon carbide sandpaper (or diamond sheets or pads). The grains of aluminum oxide paper quickly round out and stop cutting.

I use the first two grits of sandpaper dry and the rest wet. I wash off the stone between grits and allow it to dry for inspection before continuing. I then use a crayon to note the place I missed and continue. You can use an old sheet of 1000-grit sandpaper for a few minutes between grits to bring out missed scratches. Tongue depressors, ice cream sticks, small flap wheels, cone-shaped tapers, and silicon carbide rubbing sticks all aid in getting into tight places. Silicon rubbing “blocks” are flat surface chunks which, when used wet by hand, can get the bumps out of a surface. (Bumps are often felt while not seen.)
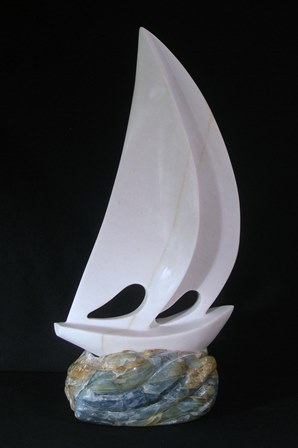
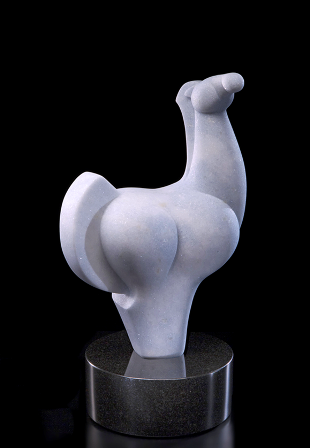
Half your sanding time is on the first grit—getting out those deep scratches. Then the next grit might be 1/4 your time and so on. The last grit is a “breeze.” Scratches hold light. Get them out and the stone glistens.

taper silicon_carbide_flapwheelSC Griding SticksSC Grinding BlockDiamond Hnd Pad

Mounting Sculptures

A base is like a frame. It accentuates the sculpture. It is important to select a base that is not too busy or large for the sculpture. You don’t want to take attention away from your masterpiece. You want to have a stable base but sometimes it looks best if the sculpture overhangs its support. On the other hand, the “footprint” of the sculpture should be at least and generally not much more than 1-1.5″ from the edges of the base. As a very general rule, the height of the base should not be more than 1/3 the height of the sculpture. The base can be granite, irregular stones, steel, plexiglass wood (I like ebony stained walnut), etc.

OLYMPUS DIGITAL CAMERA

©2015 Ken Miduch

This is an art, not a science, so each case is different.

Azzurro Acquamarino Marble

©2015 E. Woodbury

Here is the detail methodology of “basing”:

• Get a flat and level surface to work upon
• Determine sculpture position; secure and hold it
• Mark bottom level line
• Cut bottom; check for flatness (might use a tile)
• On larger bases, cut out center of the bottom to make flattening easier
• Determine hole location in sculpture bottom (find center with a pebble)
• Drill hole with hammer or core drill (consider the bedding plane)
• Determine hole in base: mark sculpture footprint on the base or cut out a template (cardboard or masonite); mark “up”
• Drill base
• Decide on pins: stainless steel or turning pin: gluing one or both sides or using threaded connectors. Consider the ultimate weight of the piece.
• Put non-scratch feet base or adjustable feet on larger pedestal
• Proudly display sculpture