February 24, 2023
In
Safety, Stone, Tips for Beginners
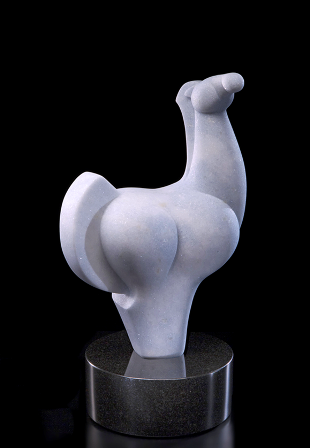
Catching Dust
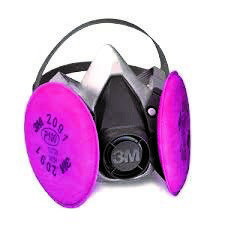
If using power tools we create dust. We are wearing our masks so we aren’t breathing it in. But the neighbors…
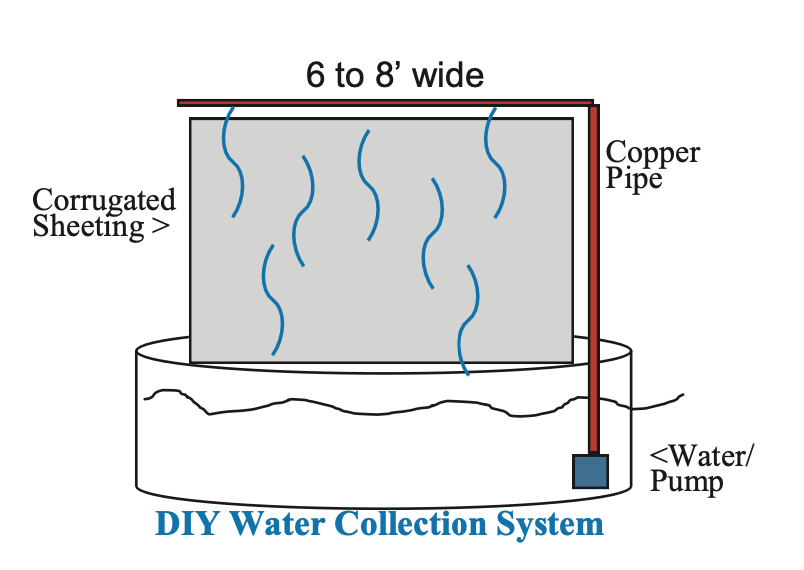
Wood dust collectors do not seem to work well. You can make a downdraft table but that is good for small projects only. There are excellent (expensive) professional systems that have a vacuum system behind a “waterfall.” In Italy, they often use a DIY system consisting of a water trough with a corrugated metal or plastic sheet in it. Water cascades from a pipe with holes along the top of the sheet. A small pump recirculates the water. Either a fan is placed behind the sculptor or holes in the sheet have a suction system behind it. (Excuse the crude sketch.)