February 24, 2023
In
Techniques, Tips for Beginners
To create a professional portfolio or to impress friends, it is important to have a clear picture of your work.
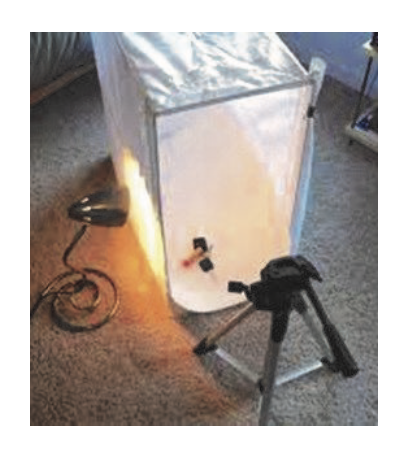
- Set up a backdrop appropriate to let the sculpture stand out. Black backgrounds avoid some shadow problems.
- Double-check that the background totally covers the frame. Look carefully through the lens.
- Use stands that allow the placement of lights at different heights (sticks in a can, tall tripod).
- A powerful full spectrum (3500K to 5500K) bulb such as a 100 to 500 watt will maintain colors. (Sunlight is about 6000K).
- Diffuse light with translucent screens such as a frame with white acetate or umbrellas. A plain white foam core board can be used to bounce light into a shadow.
- Direct 60% of light in the front; 40% in the back.
- For translucent sculptures try to backlight (without having the source in the frame).
- Consider light boxes for smaller pieces.
- If possible, set the camera on a higher f-stop (like f8) and a slower shutter speed. With point and shoot cameras use the telephoto extended.
- Use a tripod or stabilize on the back of a chair.
- Use the timer to prevent shake. Set cell phones on the highest reso- lution and shut the flash off: Flash bad!
- Experiment with different camera angles: side, from above, below… You can buy lighting and background kits. Google these two videos for low cost ways of getting professional photos:
- Smick Product Photography Tutorial (by Gavin Hoey)
- DIY Studio Product Lighting PROPHOTOLIFE, Episode 2