There is no “magic wand” to finishing a stone sculpture. It is just plain patience and work. The critical work takes place in the beginning – getting the worst scratches out. The steps are: flat chisel, rasps, sandpaper, rouge, or polishing powder or cream. Details:
1 – A sharp chisel starts getting out the chisel marks. Old school teachings are that the flat chisel, used gingerly, should provide almost the final surface.
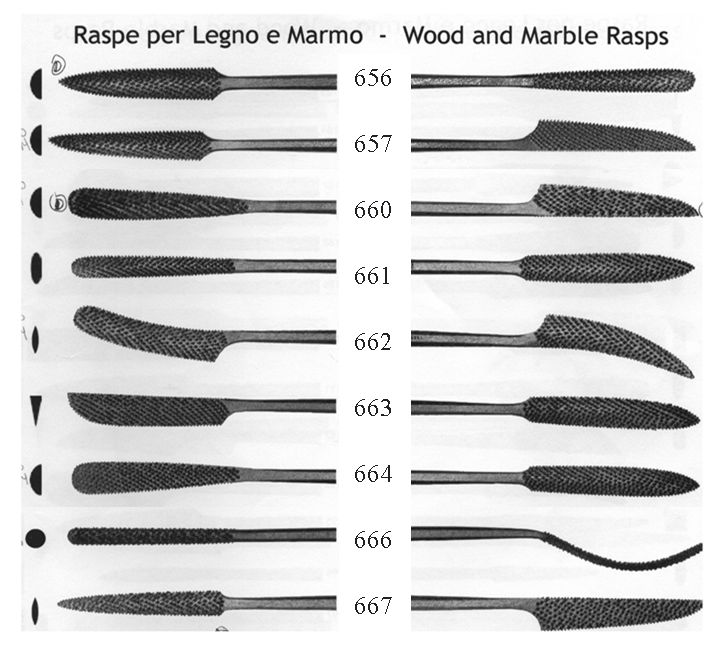
2 – The larger the rasp the coarser the teeth. Pick the shapes that get in most of the spaces on your piece. Most commonly we use point, spoon, and knife shapes but there are many options. Rasps need to be used in one direction; forward. Diamond rasps come in different grits and can be used in both directions. A good rasping job makes the next job much easier.
3 – Sandpaper must be made of silicon carbide (not aluminum oxide). It can be used wet or dry. Water increases speed and sandpaper longevity. You might start with 36 grit for marble or 60 grit for alabaster or limestone. A normal progression for sanding is something like 60, 80, 120, 220, 400, 600, 800, 1200, and 2000, if necessary. Of course, not all stones need to be sanded this high. Colorado marble might only be sanded to 220 grit; limestone to 600 grit; black marble to 2000 grit. Wash the piece between grits and then let it dry to see what you missed.
As a general practice, the first grit will take half the total sanding time. The next grit might take ¼ the total time. So by the time we get to the higher grits the time required is minimal. Note the inevitable frustration: as you go up the grits you will find deeper scratches that you missed earlier. You will need to go back to some steps. Expect this.
(Advanced: Diamond sponges and sanding rotary tools speed up this process. I use all these to get the job done.)
4 – Higher abrasives are in the form of powders, bars or creams. These are most commonly tin oxides. There are rouge bars that are used with a buffing wheel. (Make sure to use rouge for stone, not the metal stuff.) Powders are rubbed on the stone as are the creams. These options are basically 5000 to 8000-grit abrasives
5 – Chemicals are the last step – possibly. I think I am done but test it by wetting it down. Did it make a big difference? If yes maybe I should sand further with a higher grit. Another option would be to use a color enhancer. This is a diluted silicon solution that fills the microscopic scratches and keeps the surface looking wet.
6 – Wax protects the sculpture from fingerprints and other contaminants. I would not wax outdoor pieces as the wax will just burn off. There are other outdoor sealants that allow the stone to breathe.